I use paint.net a lot for the games I run online (When runing KriegHamemer for example: http://lizardmandiaries.blogspot.com/search/label/Krieghammer ). Here is a little tutorial for those that might be afraid of image editing software because it is actually very simple, easy, fun and also useful for games! I hope you find the guide helpful!
- Download Paint.net from: https://www.getpaint.net/
- Install it, etc.
- Start playing a game, realize you need a map, or image. Open Paint.net.
- Start a new image. I don't know much about image sizes and resolutions, and just always put the resolution at 300 pixels/inch
- Now the fun starts!

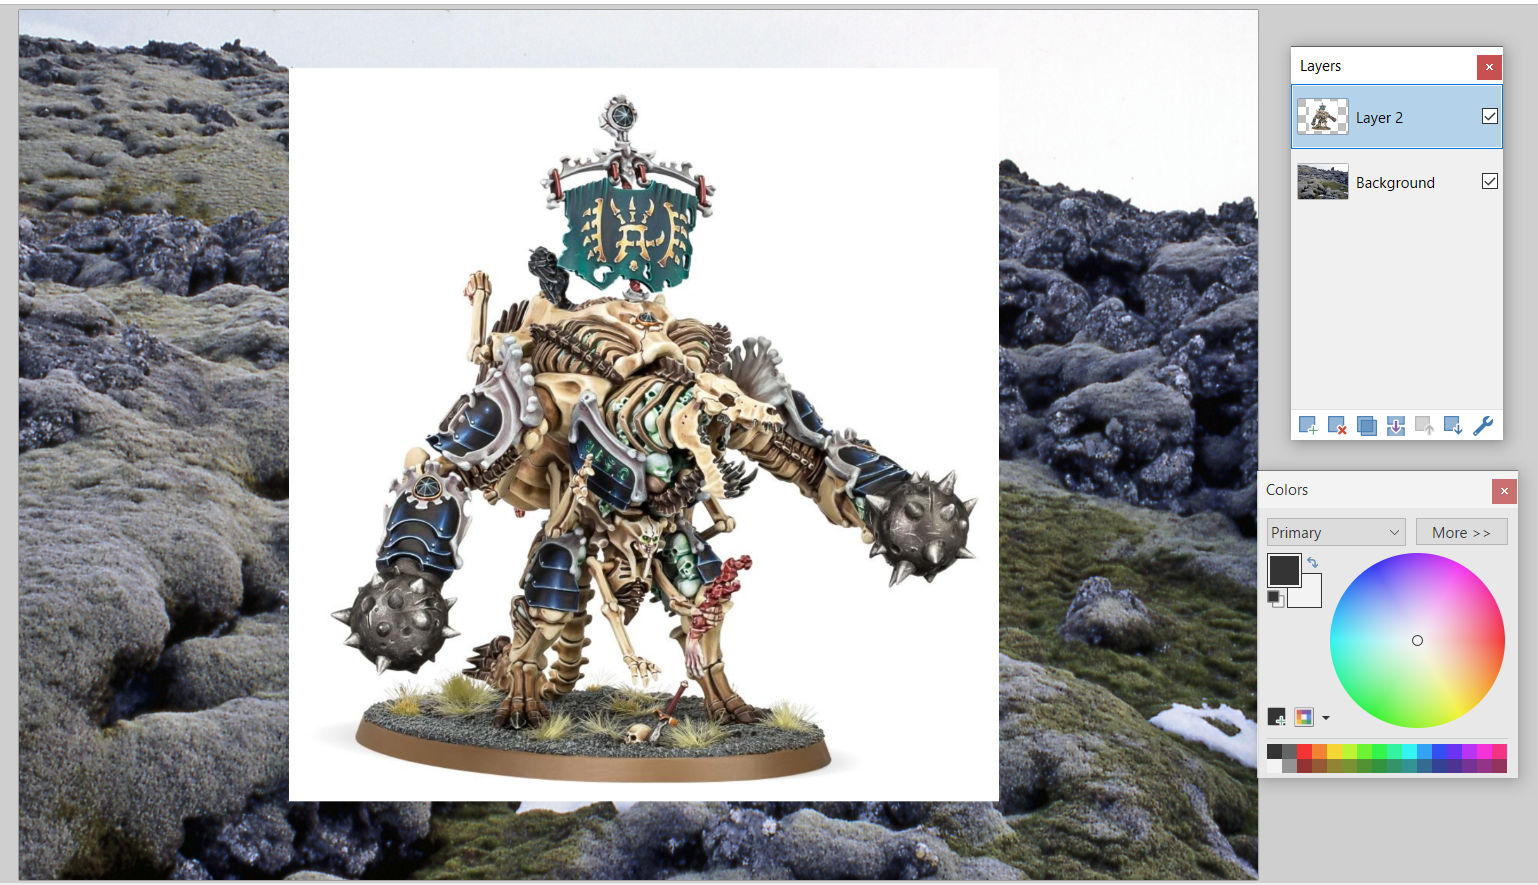
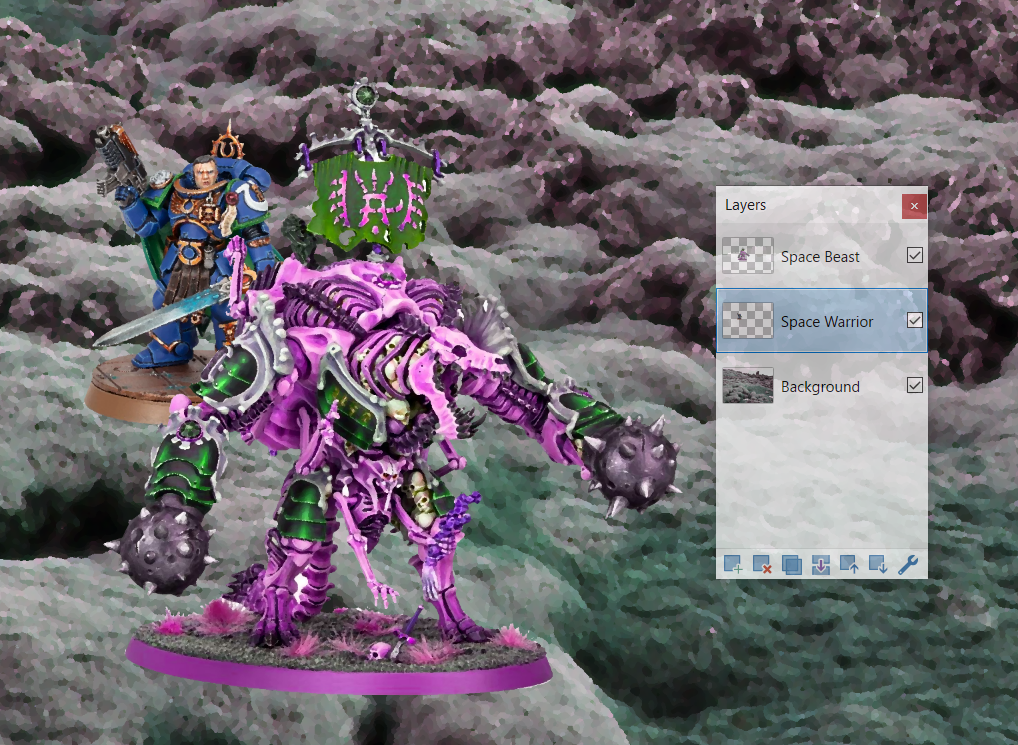
- The above image is for "layers". Layers are very important and useful. Things down the bottom of the layer list appear behind things above them on the layer list. Something at the bottom of the list would be the background of the image.
- Decide what background you need! Lets go for "Lava Field". To a google image search for a lava field, find an image you like, then right click it and copy the image, then go back to paint.net and control-v or paste the image!

- Depending on the size of the image, Paint.net might ask you if you want to add the image as a new layer. You want to always do this!
- Now we want to add a new layer regardless, to put some stuff onto this lava field!

- Click the button circled in red in the image above, to add a new layer.
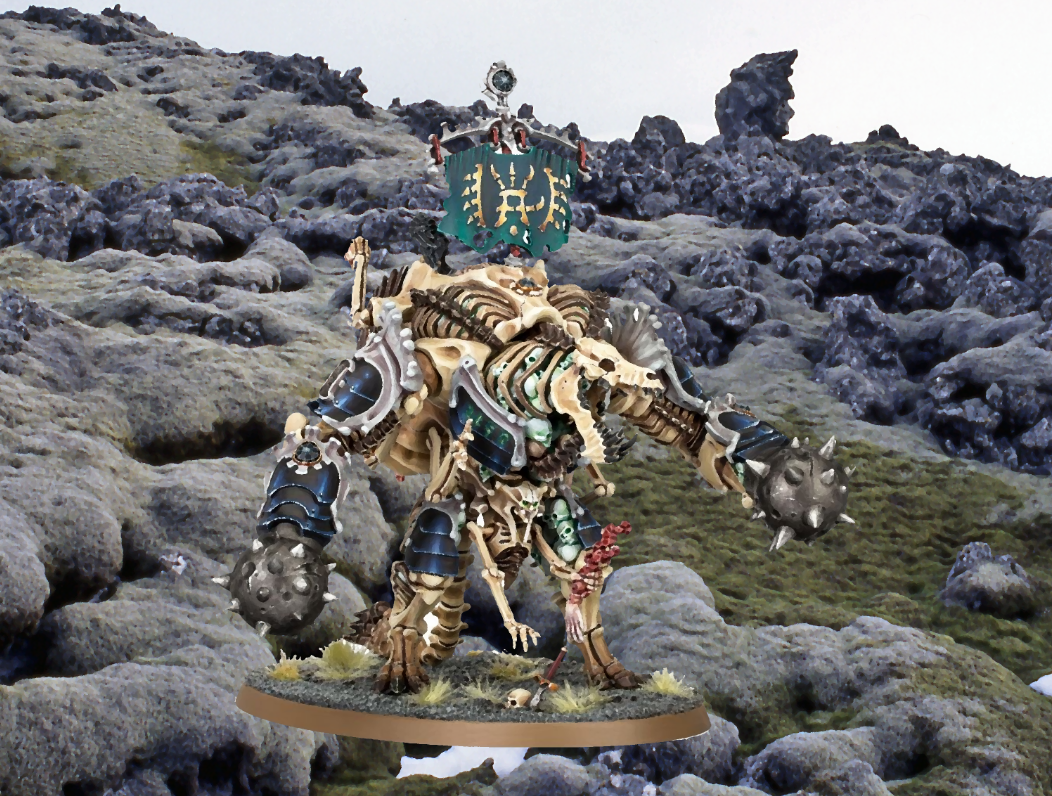
- Find an image of something you want to put in the lava field. I am going to google "Games Workshop Monster" in google image search to find something.
- When you find something, copy and paste it as above, into your new layer.
- Now we want to get rid of all that awful white space that ruins our image!

- Click the button circled in red above, this is the magic wand tool. It selects everything of the same colour on a layer.
- Make sure you are on the layer with the image with the colour you want to get rid of then click it with the magic wand tool. It is now selected. Press Delete to get rid of that colour !

- Fiddling around with the "tolerance", circled in red above, can help pick up more/less of the colour you want to remove.
- Holding SHIFT and clicking with the magic wand selects ALL of the colour selected in the layer.
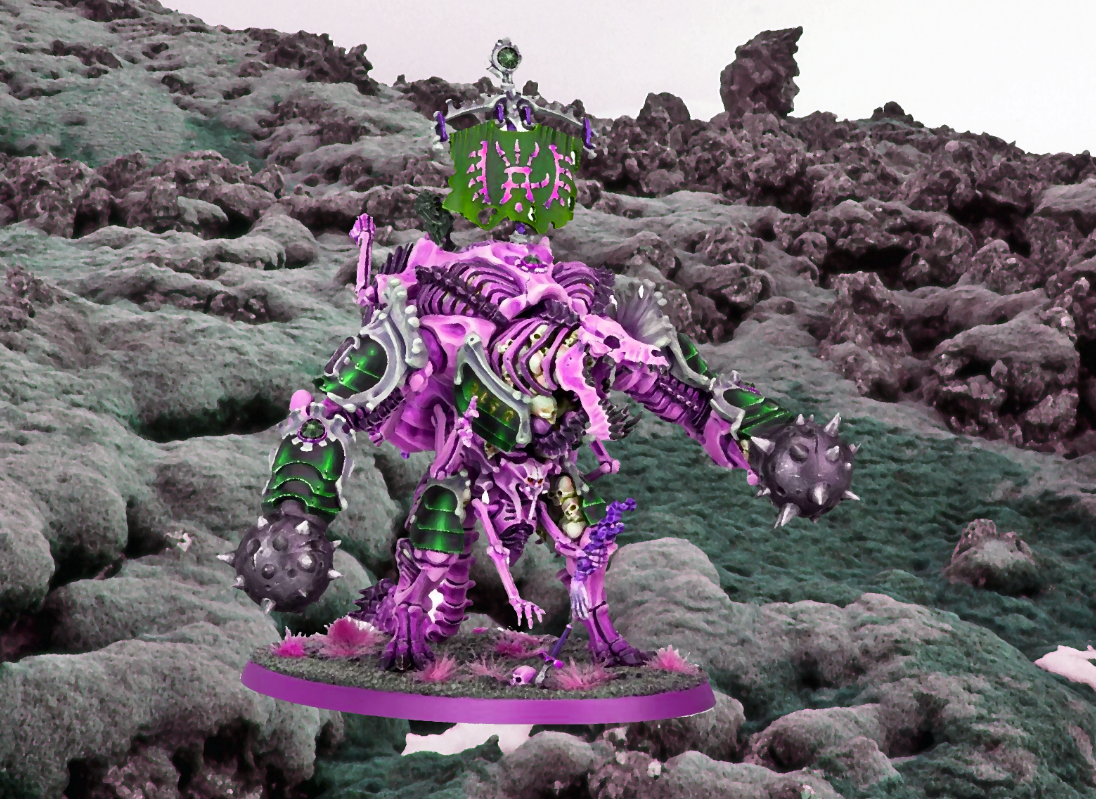
- I use the "oil painting" effect in, the Effects > Artistic menu to quickly sort of...smooth out disparate images so they kind of look like they are in the same universe. You have apply this to each layer.
- You can use the Hue/Saturation options in "Adjustments" menu to quickly change the colour of something, make it more lurid/stand out more/less. It only applies to the current layer you are on.

- You select things on a layer with the tool circled in red. And then you can move them around/resize them with the tool highlighted yellow (in the image above). Hold SHIFT when resizing things to make them keep the same dimensions!

- Add as many things to your image with new layers as you like!

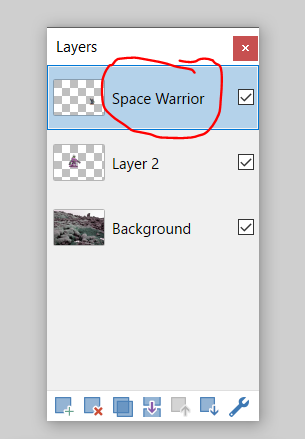
- Double click the red circled section in the image above to rename a layer. Very useful for when you lots of layers!
- Arrange and create image as you need!

- When you are feeling daring start mucking around with blurs and such things!

- Before I forget! Use the "Snipping tool" (on windows) to quickly take little snippets of images that are on your screen, and then use CONTROL-C and CONTROL-V to copy and paste it where ever you need it (Discord for example!).
No comments:
Post a Comment